Deploying Headless WordPress + React Starter on Google Cloud Platform
Most content editors know and like WordPress. Most developers know and like React. Here’s how to deploy the best of both worlds to the cloud.
Background
If you think headless WordPress + React might be a good fit for your project, check out Gina Trapani’s post introducing headless-wp-starter , which highlights both the technical and business benefits of the architecture. Gina and the team at Postlight (which includes Paul “What Is Code” Ford) seem to have a really deep understanding of how developers and content editors work together on content-driven sites, so it makes sense that the Postlight kit addresses many of problems that arise for teams using static site generators, static site + headless CMS SaaS systems, vanilla WordPress, and other architectures.
This guide will help you set up the starter kit on Google Cloud Platform’s App Engine standard environment, which has these nice features:
- PaaS simplicity that makes sense for WordPress
- Scalability, robustness, zero-downtime deploys
- Straightforward migration path to Kubernetes
- StackDriver logging nicely aggregates errors
- Media storage via the Google Cloud Storage WordPress Plugin
- Automated SQL backups / Cloud SQL Proxy
- Google Domains / DNS / SSL
- Many organizations are already using GSuite for identity
- Cheap
Step 0: Set up Your Local Dockerized WordPress
Clone the starter kit and
follow the README to get a local development environment running using
docker-compose.
Dockerizing MySQL locally mitigates a lot of the database-related annoyances that made WordPress (or any database-driven CMS) a pain for developers: now there’s no need to manually configure MySQL globally on your machine, and you can just recreate the docker containers and volumes if things get really messed up.
Step 1: Set up Your Google Cloud Platform Project and Toolchain
If you don’t have a Google Cloud Platform (GCP) account, you can sign up here. Note that you probably probably want your GCP project to be managed under your GSuite organization, so be cognizant of your currently selected Google Account while signing up.
You should then create a project (myproject in this guide) which will group
together the SQL database, wordpress app engine service, frontend app engine
service, and storage buckets.
Then install the gcloud
toolchain on your development
machine and log in with gcloud init, selecting the project you just created.
Step 2: Set up a SQL Database
When using Advanced Custom Fields and Custom Post Types, much of the your site’s content and structure is stored in the SQL database. So, it makes a lot of sense to use a managed SQL service like Cloud SQL where you can easily make, schedule, and restore database backups.
You can use the gcloud CLI to create the database instance:
Create a new Cloud SQL instance with the following command:
1
2
3
gcloud sql instances create wordpress \
--activation-policy=ALWAYS \
--tier=db-n1-standard-1Next, create the database you want your WordPress site to use:
1
gcloud sql databases create wordpress --instance wordpress
Finally, change the root password for your instance to something secure:
1
2
3
4
gcloud sql users set-password root \
--host=% \
--instance wordpress \
--password=YOUR_INSTANCE_ROOT_PASSWORD # Don't use this password!
Or, you can create the database using the console UI:
- Open the left side hamburger menu and select “SQL”.
- Click “Create Instance”.
- Select MySQL, Second Generation.
- Enter an instance id
wordpress, generate a root password, and make a note of both of those values. - Wait a bit for the instance to be created.
- Create a database by clicking on the Databases tab, and clicking ‘Create
Database’, setting the name as
wordpress.
Following these steps, you should now have a Cloud SQL instance named
wordpress with a database wordpress.
Step 3: Set up Next.js Frontend on Google App Engine
These instructions on how to set up an express server on GAE can be easily adapted for the headless-wp-starter Next.js server.
Add a one-line app.yaml specifying the node rumtime:
1 | runtime: nodejs8 |
Change frontend/server.js to listen port provided by GAE via the PORT env variable:
1 | // Listen to the App Engine-specified port, or 3000 otherwise |
Next modify frontend/config.js to set apiUrl as the wordpress service url we
will create in production, and localhost:8080 in dev:
1 | export const Config = { |
In order to build the Next.js static assets on deploy, add a gcp-build script:
1 | "gcp-build": "NODE_ENV=production npm run build", |
to the ‘scripts’ section in frontend/package.json.
To deploy, execute gcloud beta app deploy --no-cache frontend/app.yaml. The
addition of beta and --no-cache are currently necessary to make this work
properly. It might take a try or two, but you should now be able to browse to
https://myproject.appspot.com (currently with an error, because WordPress has
not yet been deployed.
Step 4: Set up WordPress on Google App Engine
Google has a neat little tool to add Google App Engine (GAE) standard environment config files to our existing WordPress project. Once these files are added, we can deploy our service using the gcloud CLI.
First, set up the tool as described in its very helpful documentation:
1 | git clone https://github.com/GoogleCloudPlatform/php-docs-samples.git |
Note:: You need to install PHP and composer so that composer can install this
tool’s dependencies. You can install composer directly into your working
directory and run php composer.phar install instead of composer install. If you receive an error about
extensions, install the missing PHP extensions (xml and zip) and retry.
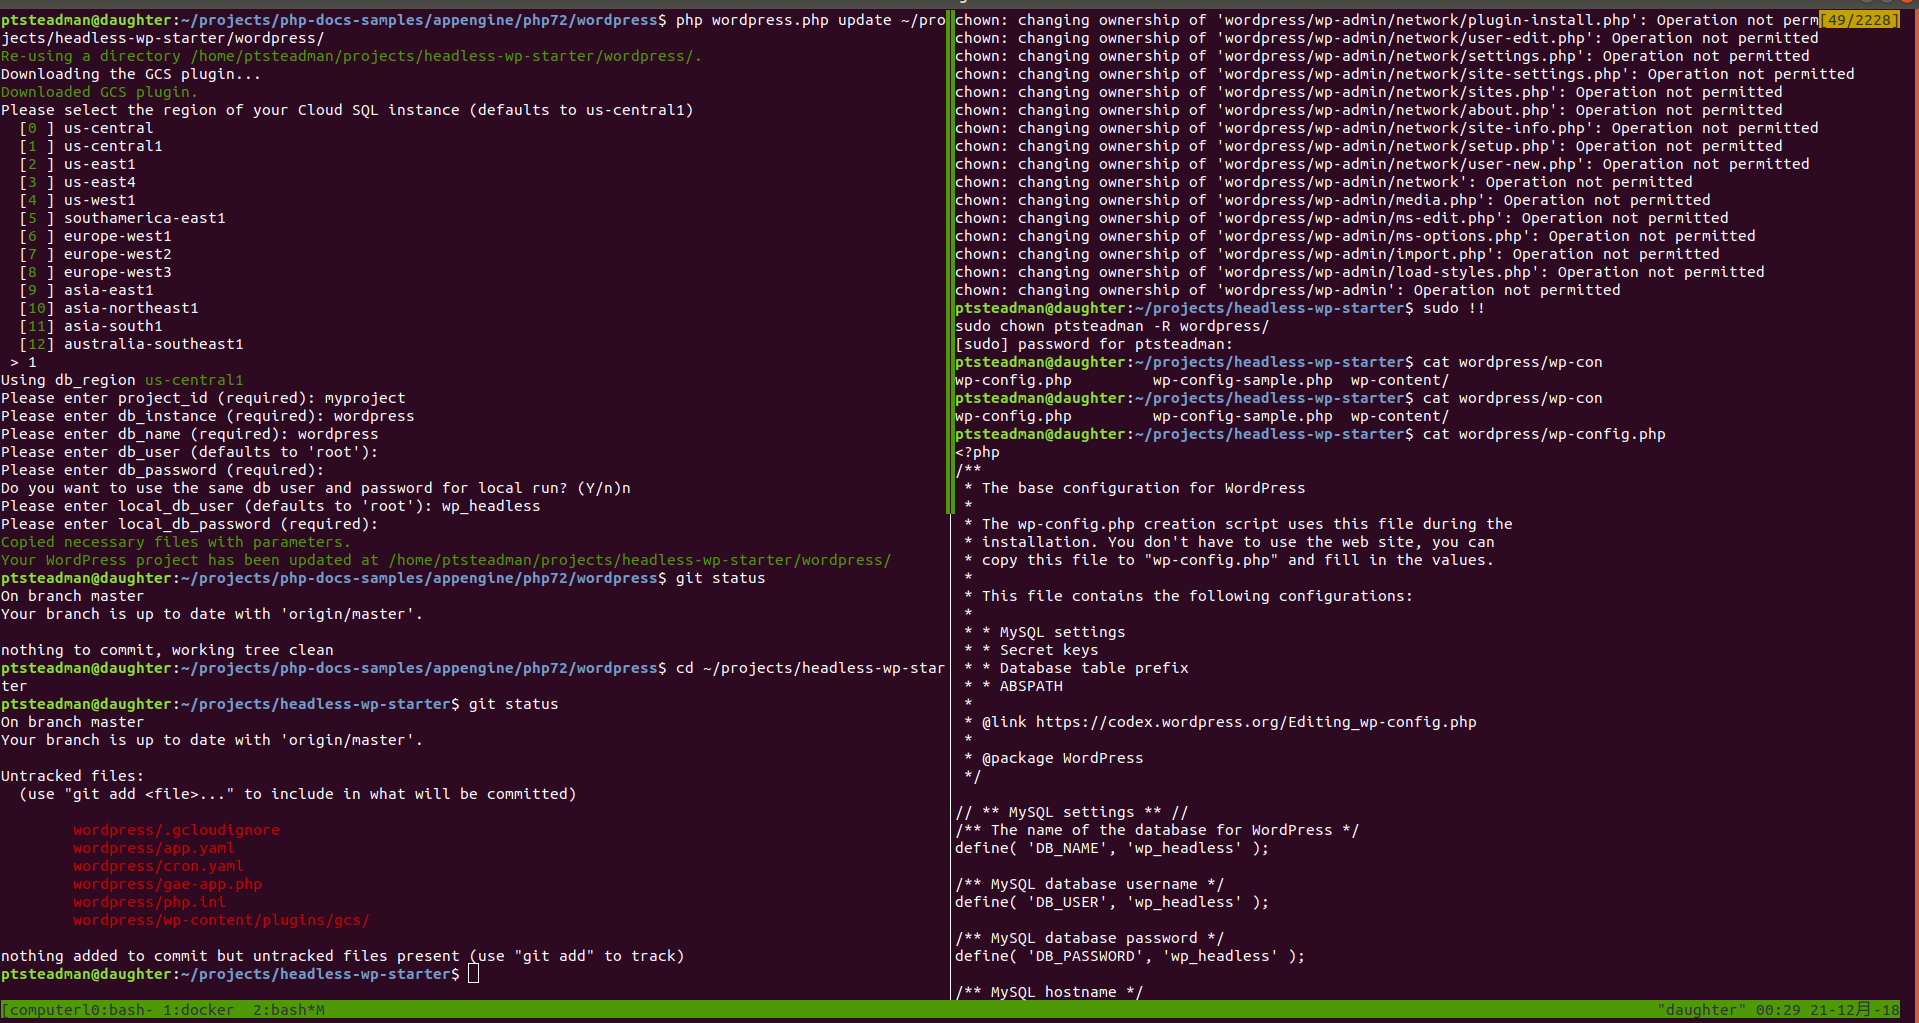
Then we run the tool, pointing it at the WordPress directory in our project:
1 | php wordpress.php update /path/to/headless-wp-starter/wordpress |
This will ask us questions and then create a bunch of new files that tell GAE
how to run our app and modify our wp-config.php.
Note: You may get permission denied errors, this is because the WordPress files created by docker are owned by root. You can fix this by running the tool using sudo.
Before deploying, do two more things:
Fix your local build: in the
wp-config.phpcreated by the tool, the local config expects the database host to belocalhost, but because everything is running in docker-land,DB_HOSTshould be set todb-headless.1
2
3
4
5
6
7
8
9
10
11
12
13
14
15
16// ** MySQL settings - You can get this info from your web host ** //
if ($onGae) {
/** The name of the Cloud SQL database for WordPress */
define('DB_NAME', 'wordpress');
/** Production login info */
define('DB_HOST', ':/cloudsql/myproject:us-central1:wordpress');
define('DB_USER', 'root');
define('DB_PASSWORD', 'YOUR_INSTANCE_ROOT_PASSWORD');
} else {
/** The name of the local database for WordPress */
define('DB_NAME', 'wp_headless');
/** Local environment MySQL login info */
define('DB_HOST', 'db-headless');
define('DB_USER', 'wp_headless');
define('DB_PASSWORD', 'wp_headless');
}You might also have issues with permissions that can be fixed with `sudo chmod
+rx wordpress/wp-config.php. You can debug other tricky WordPress issues by docker execing into the container and running tail -f
/var/log/apache2/error.log`.
Your wp-config.php is now a .gitignored secret that can be shared securely
with teammates who need to do deploys.
- Add the line
service: wordpresstoheadless-wp-starter/wordpress/app.yaml, so that WordPress will deployed with the service namewordpressand notdefault. This way, it’ll accessible atwordpress-dot-myproject.appsot.comrather thanmyproject.appspot.comwhere we want the frontend.
You can now deploy WordPress to GAE standard using the command gcloud app deploy wordpress/app.yaml. Once this completes, you should see a WordPress
install dialog at wordpress-dot-myproject.appspot.com.
Step 5: Push Your Local Database to the Cloud
After editing pages, custom fields, or post types in the course of development, how do you push these (database) changes to prod?
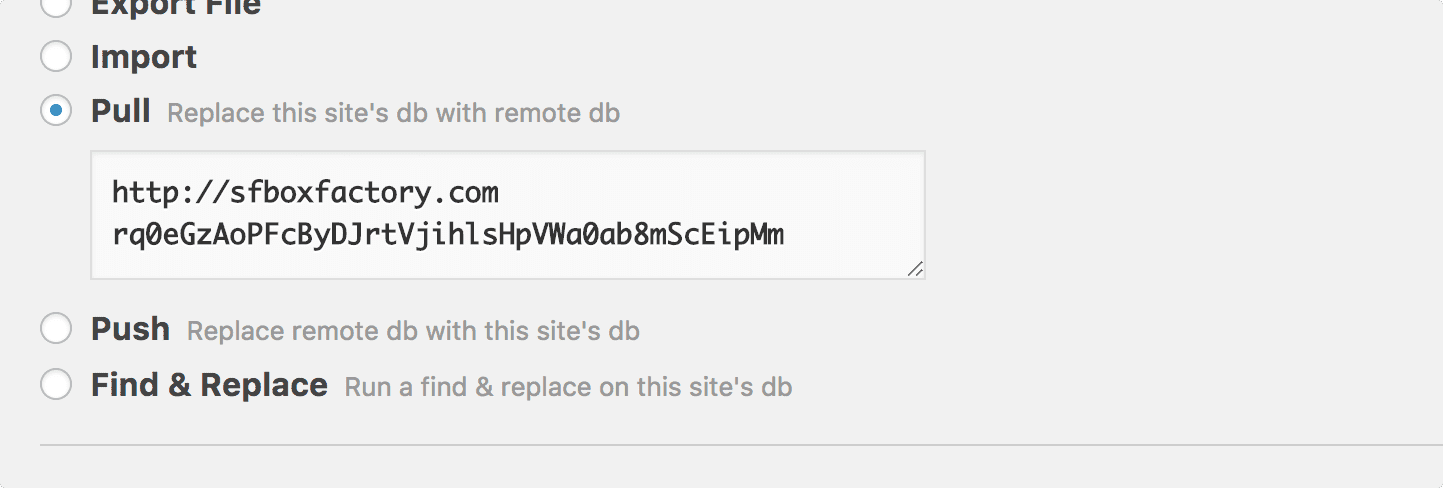
The db-migrate-pro makes it easy for developers to push, pull, backup and transform WordPress databases. For example, a developer could pull down a copy of the prod database to work with locally, and then push back their changes, after making a backup of the current production database state.
To push the current dev database to prod, first do the WordPress installation
using temporary information, and then activate the WordPress plugins at
wordpress-dot-myproject.appspot.com/wp-admin. Then, follow the db-migrate pro
instructions for “pushing” a database from http://localhost:8080/wp-admin.
The only real downside to db-migrate-pro is that it requires a license key.
Step 6: Set up Google Cloud Storage Media Uploads
A common vulnerability for web apps is the ability to introduce malicious files through an upload script. By moving media uploads to Google Cloud Storage, we can remove this possible attack vector. In fact, we don’t enable any write permissions on WordPress’s upload directory at all.
- In Google Cloud console, navigate to Storage > Browser
- Create a bucket and give it a name (e.g.
myproject-media) - Give public read access by granting allUsers the Storage Object Viewer
- In Wordpress admin area, enable Google Cloud Storage plugin
- Navigate to GCS settings and enter the name of the bucket you created above.
Step 7: Enable Media Uploads From Local Machine (Optional)
- Visit Cloud Console, go to IAM & Admin -> Service accounts and create a service account with Storage Admin privileges. If there is already a service account with this role, you do not need to create another one.
Note: The GCS Plugin instructions say Storage Object Admin privileges are sufficient but in practice this doesn’t seem to be enough.
Download the JSON key file, name it
gcs-service-account.jsonand place it in thewordpress/directory. Do not commit or deploy the service account JSON key. It is (and should be) excluded from git with .gitignore and from deployments with .gcloudignore.Edit your
wp-config.phpwhereABSPATHis defined (near the end):
1 | if (!$onGae) { |
Summary and Potential Improvements
To deploy frontend code changes: gcloud beta app deploy --no-cache frontend/app.yaml
To deploy WordPress code changes: gcloud app deploy wordpress/app.yaml
To deploy database changes: use the db-migrate-pro UI or CLI
It would be cool to set up continuous integration / continuous deployment to
perform these steps automatically upon code pushes, perhaps to different staging
and prod environments specified by app-production.yaml and app-staging.yaml
files.
Please contact us or make a pull request if you have suggestions or encounter issues using this guide.
Our Implementation
You can see the source of a real project using this setup here.